1. Purchase the parts and build
In total about 78EUR.
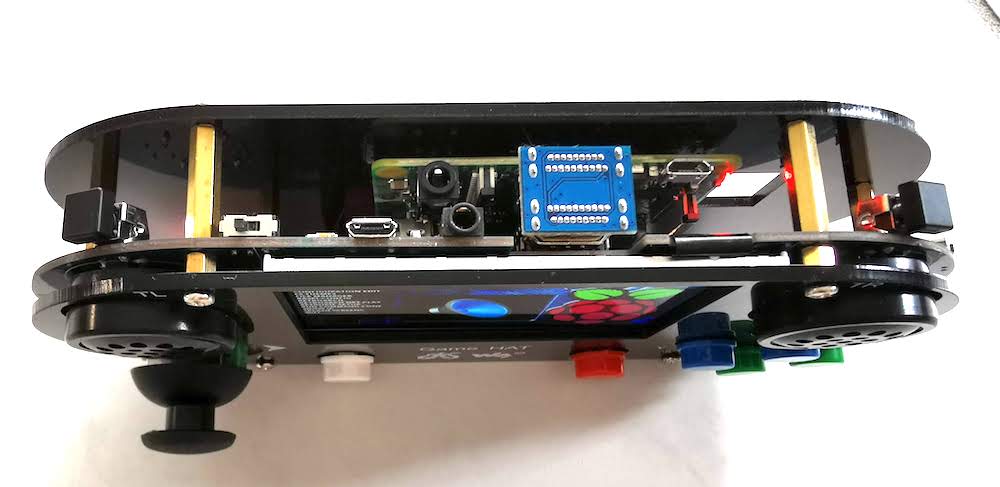
- Raspberry Pi (A+/B+/2B/3B/3B+); however I went for a 3A+ (24.30EUR) because it’s 10EUR cheaper and the 3B+ was not in stock
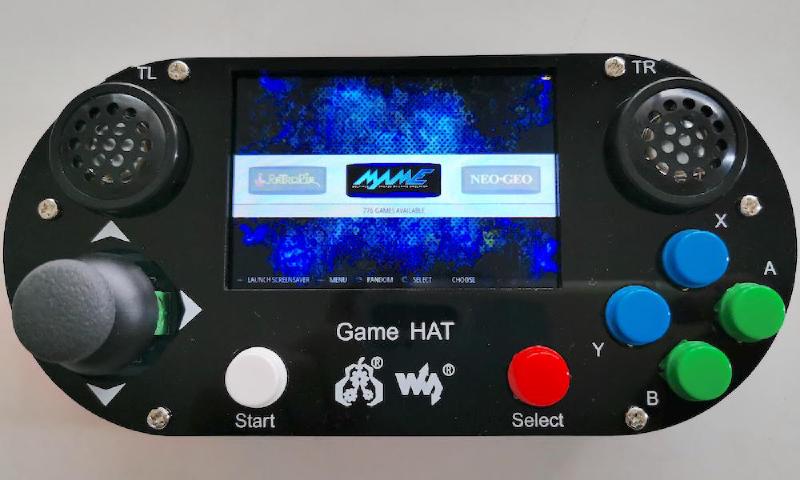
- Waveshare Game HAT (36.90EUR)
- 18650 battery (3450mAh; 5.10EUR)
- USB charger 5V/2.5A (4.90EUR)
- 32GB microSDHC Class 10 (Transcend Premium 6.20EUR)
2. Download and write the suitable system image
Format a SD Card (32GB or more) to FAT-32 using SD Card Formatter
Download the image
- a). Official Waveshare Game HAT pre-installed image (not working on RPi 3A+)
- b). Separate image + Game HAT drivers install (RetroPie 4.5.1 supports RPi 3A+; drivers can be downloaded from Waveshare wiki)
- c). Modified image for Raspberry Pi 3A+ (thanks to gdhgdh for posting this; his image uses RetroPie 4.4; the image is here – 12.03Gb!)
Burn the image to SD card using Win32 Disk Image (Win) or Etcher (all platform)
For a and c it’s the same way, just select the image .img file and SD card and write.
For b), eg. RetroPie + drivers, firstly we need to write the image to SD card, and then install the drivers based on the Waveshare Game HAT manual(page 4-6). At this step we should connect Pi + SD card with monitor and keyboard and run the Game-HAT script. See a Youtube guide here. I tried but the keyboard didn’t work on my RPi 3A+.
3. Expand SD partition size (on Game HAT)
On the RetroPie section select RASPI-CONFIG–> 7 Advanced Options (Joystick right and press B) –> A1 Expand Filesystem.
4. Add roms and play (Wifi smb)
On the computer make a new file “wifikeyfile.txt” under /boot on the SD card, with the following content:
|
|
Then put the SD card back to Game HAT, select RetroPie–WIFI–“3 Import wifi credentials from /boot/wifikeyfile.txt”. It may take a minute or two.
Back to the computer, for instance on a Mac open Finder, CMD+K to connect to server URL: smb://retropie connect as a guest then the roms directory will be shown up.
5. Operations
- Exit Mame: Start + Select
- Save the game (options): Select + L
The overall holding of the Game HAT isn’t very comfortable due to the exposed round plastic edges. However the game experience is very good. The retro console definitely brings back your childhood joy!